
A Clear understanding of the retouching skills in photography is extremely crucial for a professional product photographer. You may need to remove the distracting elements and reflections that couldn’t be avoided while shooting. This main work is done in the post processing to make your image outstanding and pleasing. Here, we have rounded up some of the most used techniques for retouching products.
Clipping:
Use clipping and apply cut out effects or to control the visibility of any part on the image.
Step 1: Create a new Photoshop document following File>New.
Step 2: Pick the Rectangle tool and drag it by clicking. Create a square while holding the Shift key. Set the Stroke to none and Fill to black.
Step 3: Duplicate the black square for creating a 5 by 5 grid. You can do it by pressing Cmd/Ctrl +J.
Step 4: Highlight all your squares when they are evenly spaced and click on New Group icon. Rename this group to ‘Squares’.
Step 5: Open your intended image in Photoshop and bring it to the new document by dragging.
Step 6: Click on the diving lines running between the image and squares by holding down Alt. Now, your Clipping Mask is created.
Step 7: Move and scale your image using Cmd/Ctrl +T.
Layer Masking:
It is the most powerful way of introducing an element on the top of your subject.
Step 1: Create a new layer. Go to the layer menu/new/layer. Press Shift +Ctrl +N for windows and Shift +Command +N for Mac.
Step 2: Check the checkbox in the new layer dialog box. Fill soft light neutral color i.e. 50% gray. Now change the mode to Soft Light. It will create a new layer where you can brighten or darken any portion.
Step 3: Change the opacity of the layer to 25%.
You can see a high-resolution copy by clicking on the finished image.
Read Also:- How to Sell More through Product Images?
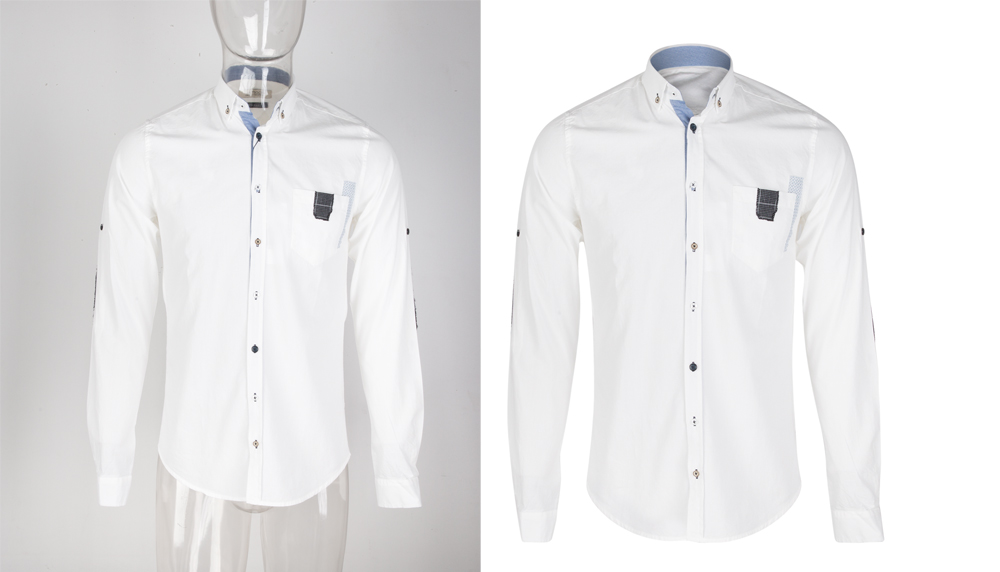
Making Shadows and Reflections:
Photo reflection seems the most complex thing to do. But this is the easiest and most effective way of boosting any image.
Step 1: Use Photoshop pen tool to cut out the main subject from the background. Draw clipping path around its border and bring it onto a transparent layer.
Step 2: Using a marquee tool, draw a dotted box around that area of the image which you want to make as the reflection i.e. the entire bottom part. Then paste this selected part on a new layer. Use Ctrl +J on windows and Command + J on Mac.
Step 3: Bring this copied layer beneath the main subject layer. Now, select the cut-out portion and choose ‘Flip Vertical’ from the pop-up menu that appears by right clicking. Level both the subject and cut-out layers properly.
Step 4: On the flipped object, add a layer mask. Use the gradient tool and switch the colors of foreground and background. You can apply a gradient as required.
Step 5: Here, you have to apply a bit of blackness between the bottom of the subject and its reflection. Choose a new layer and select by holding Ctrl and then click the main object layer. Apply black with the brush tool.
These are the simple techniques for Photo retouching your product and make it more eye-catching.