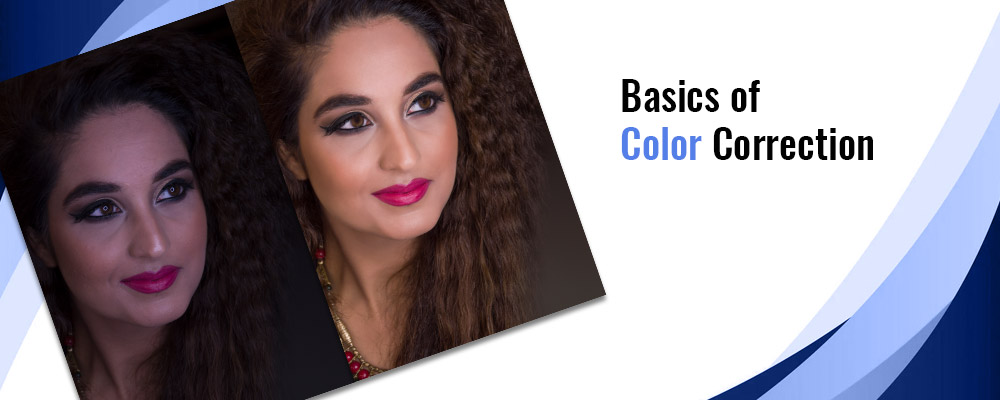
What is Color Correction?
Color correction is a technique that rebalances hue, saturation, and brightness to match the human eye’s perception of color. It ensures that the image is uniform and corrects any specified color issues.
Editing the white and black levels and the photo’s exposure, contrast, and white balance is known as color correction. Color restoration software such as Adobe Photoshop restores the image to the photographer’s original vision. It also improves the consistency of your final product. The smoother the flow is the more closely the images match.
Color Correction and Color Grading
Color correction and color grading techniques are frequently interchanged. However, photo editing and photo retouching are two major processes. To distinguish between color correction and color grading, we must first understand that they are both aspects of a professional post-production process. Before color grading, color correction is done.
In simple terms, color grading is a preprocessed layer that is added on top of a final color-corrected image. It gives the image a more sophisticated look and makes it more attractive to the eye of the viewer. Color grading is a tool to enhance the setting or emotion of an image. On the other hand, color correction makes your photos look better than before. Outdoor lighting might turn suddenly and unexpectedly, leading images to appear imbalanced. Color grading is mainly performed on video footage to bring out a story.
Color Correction in Photo Retouching
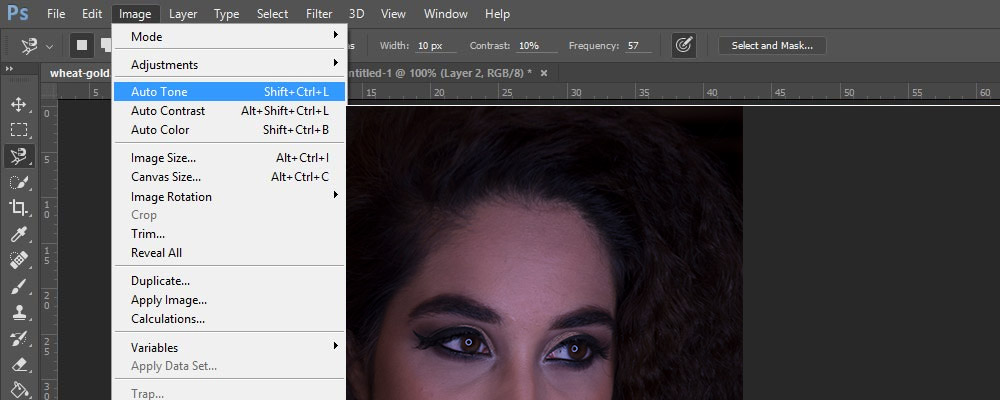
The quick mode tools help image editing professionals and photo retouching services quickly fix common image issues. Tools such as smart fix, exposure, lighting(auto levels, auto contrast, shadows, mid-tones, and highlights), color(saturation, hue, and brightness), color balance, and sharpening the image are some of the most commonly looked upon tools in Photoshop. The spot healing brush tool helps remove dust particles or imperfections on the image to enhance the quality of the image.
For example, the quick mode is helpful in correcting dull teeth to whiten teeth. The eye tool is helpful to remove redness in eyes that appear due to camera flash.
Read Also This Article:- Why Businesses Need Photo Retouching Company To Suit Your
Basics of Color Correction in Adobe Photoshop
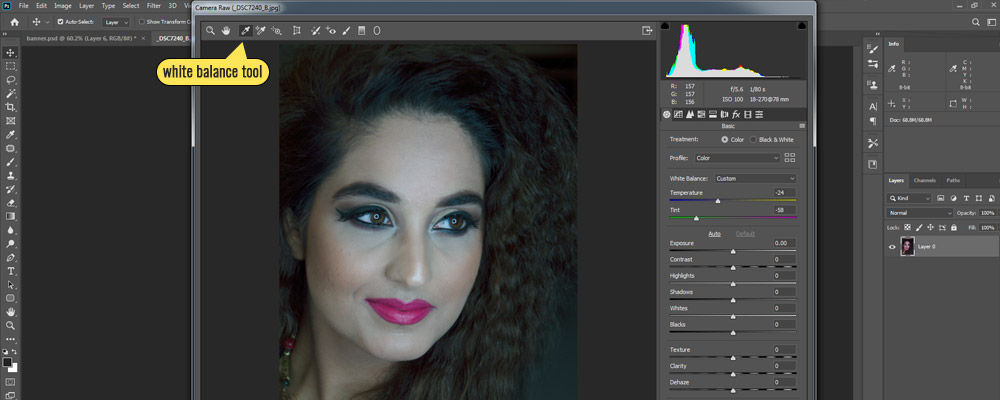
Adjusting White Balance
White balance is a technique for achieving a natural white in a photo so that all other colors fall into their proper places. Because light has a wide range of temperatures and hues, modifying the white balance means changing the warmth and hue by adding an additional warm glow or coolness. A curves application is typically used in post-production to adjust white, grey, and black levels.
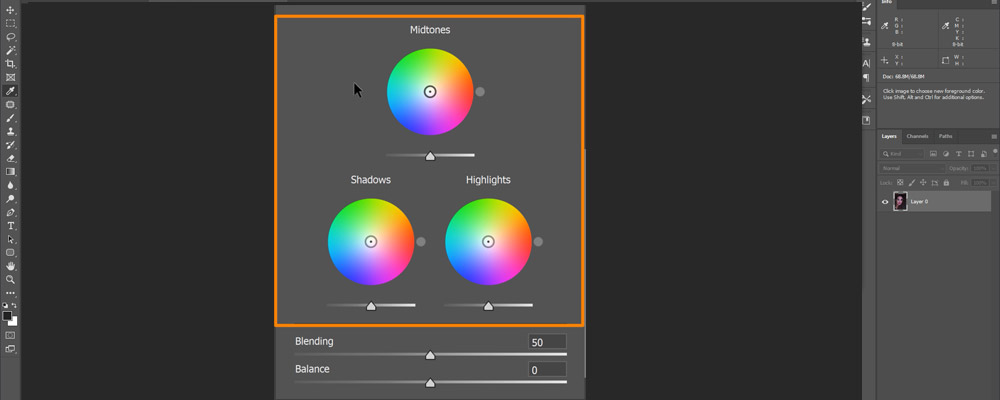
Camera Raw and Color Corrector Wheels
Although the Adobe color wheels are specially used for color grading, they are of high value for color correction. We can modify the hue, contrast, saturation, and brightness all from one interface with this tool. We may quickly experiment with various looks for the photographs by dragging a point within each color wheel. The three wheels adjust the images’ highlights, mid-tones, and shadows.
Both hue and saturation are controlled by the handle on the inside of the wheel. The length from the center controls the saturation. Saturation equals no color tint while the handle is in the middle of the wheel. Saturation = 100 whenever the handle has been at the wheel’s edge. Similarly, the hue is determined by the angle of the handle on the wheel. There is also a third handle on the wheel’s edge that is dedicated to only changing the hue.
We can increase the amount of overlap between the Shadow and Highlights using the Blending slider. When the value is set to zero, the quantity of overlap is minimized, and vice versa. The Balance slider adjusts the balance of shadows, mid-tones, and highlights in the image. Values less than zero increase the shadow effect, whereas values above zero increase the highlight effect.
Adjusting Hue and Saturation
On the top bar, click Image, select Adjustment, and then select Hue and Saturation. A sliding bar can be found here to adjust the color photo’s color balance. Go to Adjustment > Photo Filter for temperature, where you’ll find a range of cold blue to green tones and warm yellows offered as separately named filters and tints from which to choose.
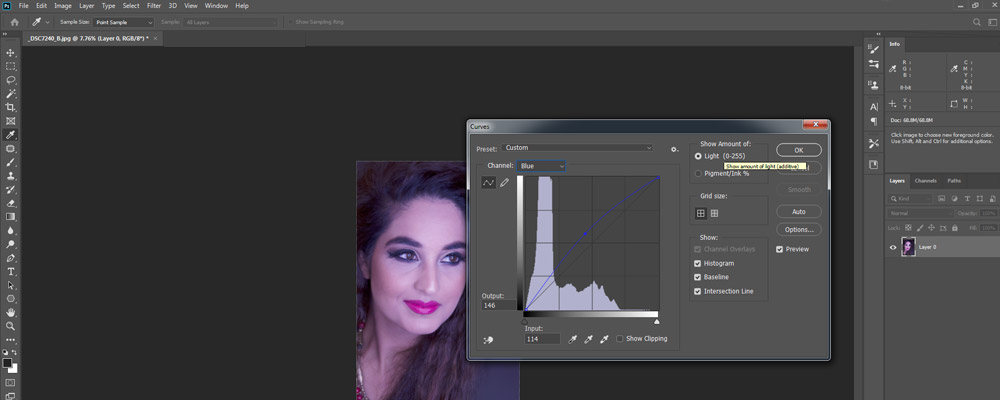
Curves
Individual color sections, red, green, blue, and white, can be edited in curves. We can add points and move them to make more precise tweaks in the shadows, mid-tones, and highlights. Based on the values we choose, these curves can make overall changes to the hue, saturation, or brightness.
The different curves graph tools help us understand and adjust the hue, saturation, and Luma accordingly.
- Hue Vs. Saturation
- Hue Vs. Hue
- Saturation Vs. Saturation
- Hue Vs. Luma
- Luma Vs. Saturation
Simply defined, hue refers to color, saturation refers to the strength of color, and luminance refers to the brightness of the image. The graphs have two properties: horizontal and vertical, which are linked together. And this is precisely what these tools offer, and they’re called selective grading tools. There are other modifications, like fine-tuning skin tones, lowering shadow saturation, and a few more enhancements, don’t affect the entire image.
CMYK Color Mode
The colors Cyan Magenta Yellow Key (CMYK) stand for Cyan Magenta Yellow Key. In CMYK, the “Key” color is always black. CMYK is a reductive color model that is solely used for printing, which implies that the lack of all colours results in white. Although CMYK is the industry standard for all printing machines, Photoshop can simulate its appearance on a screen. In photo retouching, CMYK is used by professionals for skin tone balancing.
Conclusion
If the photoshoots go on for hours or the illumination isn’t quite right, using colour correction rectifies it. The images will appear more realistic to the naked eye and will be more accurate. The assurance that the outcomes will be much superior. It still pushes photographers to capture the finest images possible without using post-production. However, the unpredictability of the future will demonstrate the value of color correction in post-production.