Getting your portrait photo taken at any location is undoubtedly flexible; however, having your photos taken at your own photostudio makes manipulation of the lighting, style, and background easier. The prospects itself is scary, but relax, all it takes is a few basic equipments and some space to take the photographs, easier said than done, right?
There is nothing to it, the amount of money you decide to invest is all up to you. There is a wide array of combinations you can use while still staying true to your budget. So much so that you can use a polystyrene board in place of a reflector.
Basic Home Studio Essentials
The holy grail of every photograph passionate about their craft is to own their personalized studio where they can freely create any photos they want. There are various components that can complement an e-commerce home studio such as photo retouching services, therefore, the equipment you will use to get started are characteristic of various factors.
There are basic essentials available in the market at reasonable prices that can help you launch your home photography studio. Sadly, passion cannot substitute experience, there are many types of equipment’s out there, figuring out which does what can be intimidating. Here are some of the common studio equipment and what they do.
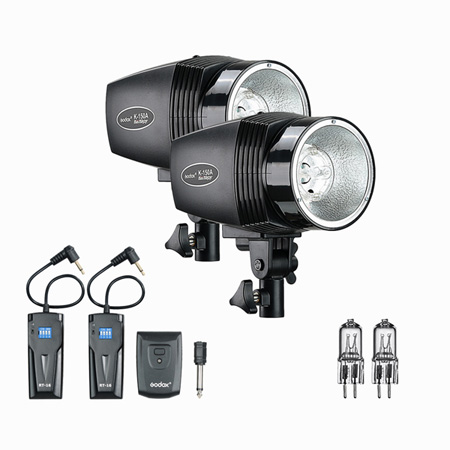
1. Flash head
They are also known as strobes. The mostly come in pairs when you buy the studio kit. They are in-built with a lighting feature that is consistently on to allow you to keep track of where the shadows are falling. Some come with a “slave” or PC sync cables]] which trigger the flash when either one is enabled, this means you need to have the camera synced to one of the strobes.
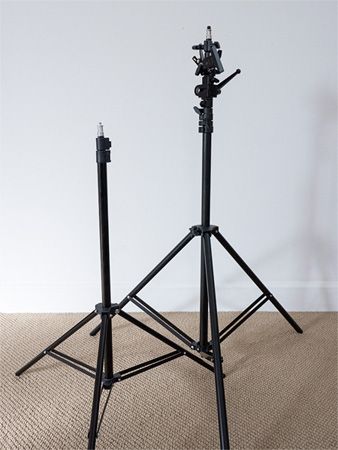
2. Light stands
Light stands make the manipulation of light easier. To reduce the amount of light or underexpose, you will need to move the strobe further. Conversely, to create an overexposure, you will need to move the flash head closer. This is caused by the inverse square law. There are other alternatives to positioning strobes, but light stands help you make that creative effect.
3. Softbox
Softboxes are placed right after the flash head. Their sides are made of reflective material which “traps” light by acting as a chamber before releasing it through at least one layer of diffusion material. Softboxes are used to soften the light reaching the subject, hence the name softbox. They are predominantly used for two purposes, as the main light source or to create contrast.

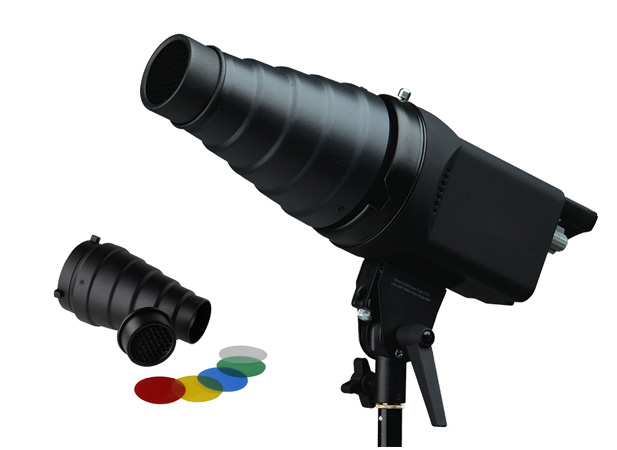
4. Snoot
A snoot is the opposite of the softbox, it reduces and concentrates the footprint of light cast on the subject. It’s placed on the strobe-like a spill kill/reflector and has a narrow entryway for light to come out through hence producing a spotlight. In other words, they isolate one subject when using the flash by manipulating the radius of the light beam. They can be rectangular, circular or conical. They also help in avoiding “spill,” when the light falls on a larger footprint than the intended.
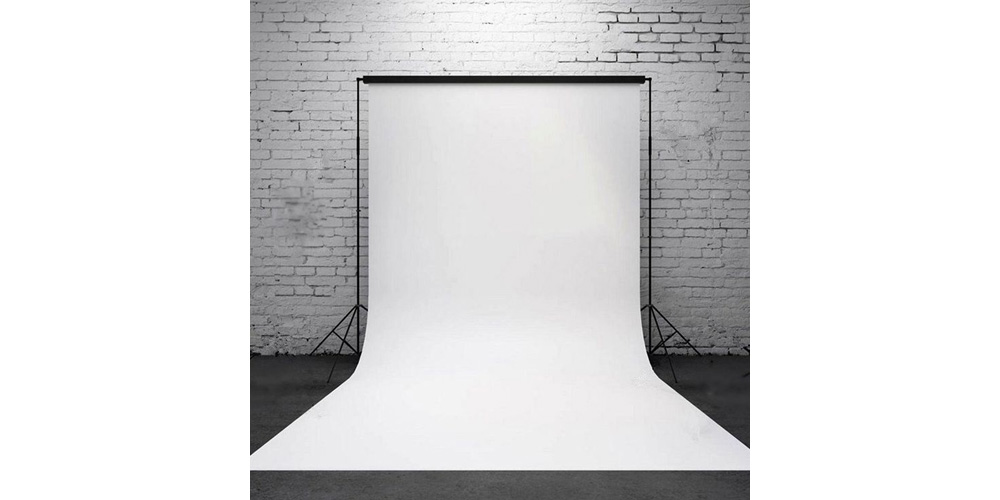
5. Backdrop
Most backdrops come rolled. The material depends on your budget. They are available in different colors and sizes. You will need a support or pole to hold up the backdrop in position. If you don’t have a backdrop, a large piece of fabric will do.
Other notable materials you need to make a home studio successful include a reflector for bouncing the spilling light back to the subject. A model, if you don’t have any model or friends willing to help you with your projects there are networking websites where models trying to spruce up their portfolio will be more than willing to make a reasonable agreement for a fee in exchange for your photos.
A Checklist before any Shoot
Before the sitter arrives for the photo-shoot, make sure everything is set up accordingly. From the camera aperture to camera settings for studio portraiture. If any, make sure you turn off the fluorescent and tungsten lights as they affect exposure. Treat daylight the same way by closing the curtains and blinds. Tidy all the connecting cables and position the light appropriately.
Put the camera on the default exposure mode. As a starting point, an exposure of 1/125 seconds at f/8 will do. This speed reduces the chances of the camera shaking and the light from exposing the frame.
Remember cameras have a limited shutter speed when using the flash called “x-sync.” Therefore, if you apply a value higher than the x-sync the possibility of the camera taking the photo before the flash is high and as a result, you might end up capturing black lines across the image. Obviously, you’ll need to use the lowest ISO settings and use the preset for balance. Shoot the photos in default file format for flexibility during editing. Instead of using the fastest drive setting, use the single frame shooting, it will decrease the amount of wasted exposure.
Conclusion
Ultimately, the idea of a perfect studio will not work. A good home studio comes from your creativity and willingness to squeeze what you have at hand. Don’t get stuck on trying to get the ideal studio. With the tips and essentials above, you can build your own home studio. You can also set up a workstation for doing photo retouching services on the images as well. Also there are various companies providing Photo Retouching Services which can assist you to polish out the image shot by you.