Sometimes, photography feels like a detective’s job. To click the perfect photo, you must try all the so-called right spots, the right light, and the right subject positions. It is then you will hit the jackpot.
In the case of product photography, you don’t have to be a detective. Set a location, and you have to manipulate light to get the desired effect on the product.
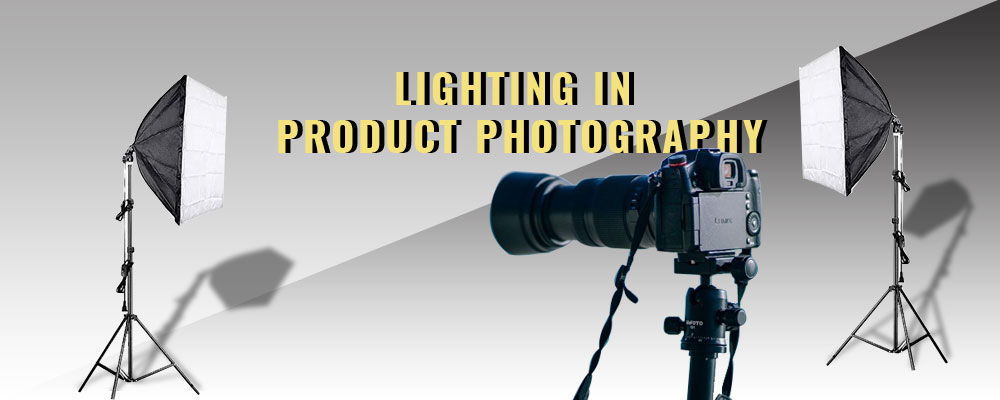
Why is Lighting Important?
The primary step before clicking product images is setting up the lighting.
Beginner photographers work upon perfecting the lens, location, background, etc. They hurry up to take as many photos as they can, often wondering where the problem lies. It is later in their career they realize the importance of lighting. The correct lighting setup is an entire world in itself, especially if want to take stunning and beautiful product photos.
An eye-catchy product photo needs a proper camera and lighting settings. In addition to brightness and darkness, lighting affects mood and ambience as well. It is necessary to manage and manipulate light appropriately to get the ideal texturing, colour balance, and brightness on a product.
Different Types of Lighting
If you’re taking product photos, it’s crucial to light the product correctly. Not only will we need a powerful lighting source, but we’ll also need to customize our lighting to suit our needs. There are two types of lighting used in product photography. It is with the blend of these lighting types one can create a different tone and mood.
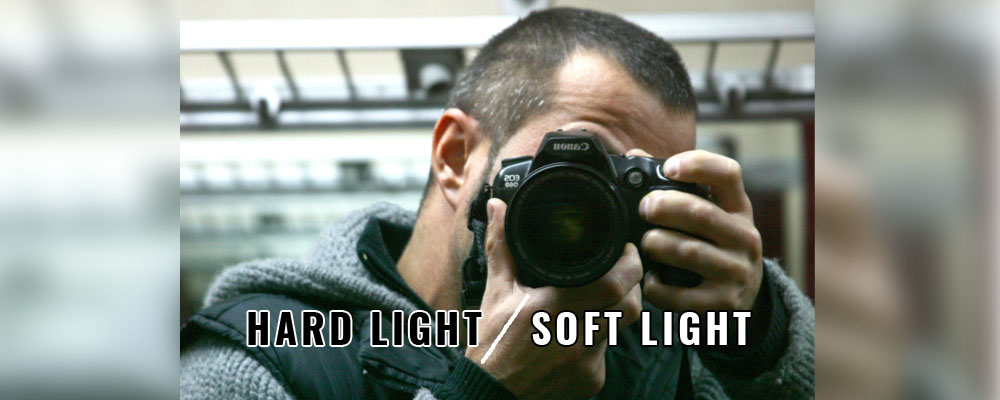
- Hard Light- Hard light is emitted by a small visible light source, such as a light bulb, focused light source, or the sun on a clear day. So it’s not unusual to see black, sharp shadows as a result. When it comes to exposing textures on products, hard light may be an ideal choice.
- Soft Light- Soft light is a large light source emitting low-contrast lighting. It generates lighter shadows. In a natural light setting, cloudy days have softer light from the sun because the clouds tend to distribute the light across a greater region, making it appear to be a huge light source.
Sometimes light reflection happens when light bounces off the product or light get reflected before it gets to the product. For example, it may be a piece of glass, water, or even the background. To address this problem, we’ve got the light ring.
The ring light is of great help too in product photography. It is an easily portable setup that lets you highlight the product with soft or even no shadows. It is a great alternative to natural light, and it highlights the product entirely and evenly. Furthermore, it won’t be a hassle for photo retouching companies to alter any distracting or reflexive elements of the item.
As the ring lights illuminate the product from all sides, we can see the entire product without being distracted by its surroundings. Product photos become more beautiful and eye-catching as a result of the brightness. The image is attractive and can help to increase sales by convincing more potential customers.
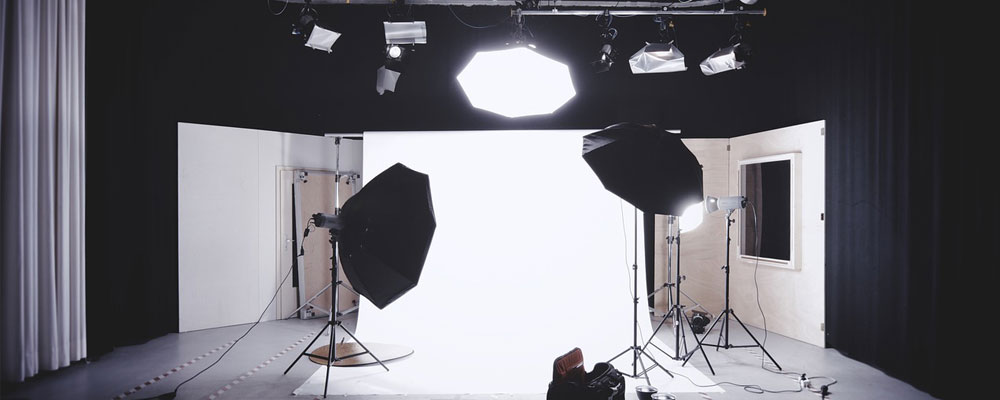
Lighting Tips To Keep In Mind Before Shooting
Size of the light
The size of the light is inversely proportional to the shadows created. Light sources of different sizes influence the way shadows to appear sharp or soft appear. Dark shadows are caused by a light source that is small and larger light sources can create soft shadows that are less intense.
As the light fades, the Inverse Square Law comes into play. So the more distant from an item the light source is, the more quickly it will fade off. Remember to experiment with different placements and distances of light.
Position of the light
The angle from which light is emitted has a significant influence on how it falls on your product. Whether the light is coming from the front, the back, the side, low down, or high up. The distance between the product and the light sources is also important. Frontal lighting casts fewer shadows, whereas side lighting casts more shadows.
The light that comes from behind the camera that is focused directly onto the item creates relatively flat lighting. Additionally, it creates shadows to fall into the background of the photo. Side lighting is considerably more appealing since it focuses on the product’s design and casts it in partial shade, giving it a more stunning appearance.
Positioning the camera comes from experience, allowing us to control the direction of the shadows. It can also impact what amount of texture shown as well as the intensity of contrast.
Conclusion
Lighting is essential for great product photography. The right lighting can be the difference between completing an offer and losing it. Adjusting the lighting for brightness, sharpness, and colour can bring multifold value to dimly lit photos. And while adjusting the studio lighting, experiment more by blending natural light into the picture.
Lighting reduces the hassle of removing reflections and makes it easier to clip paths around the product. It also helps in the colour correction of products while retouching. In editing, the image of a product Professionals works on getting rid of dust particles, incorporating ghost mannequins and other mannequins.
The Ecommerce photo retouching Services work on adjusting the minor lighting errors that have crept in during shooting. Adding or removing shadows as per the background is a piece of cake while retouching when there is proper lighting. Editors also take care of the image’s brightness, contrast, and sharpness, making the product captivating to the customers.