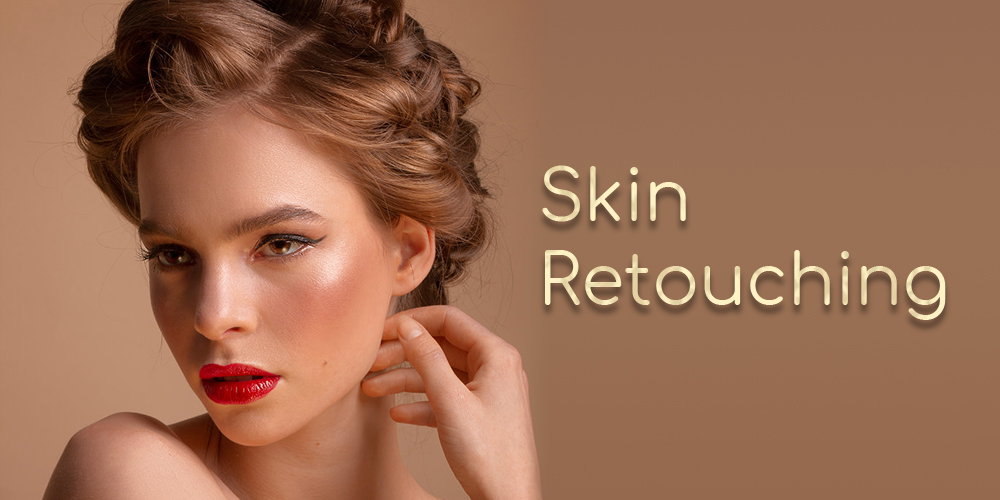
We all want our photos to look professional and beautiful and using a tool like Photoshop to achieve this is pretty common practice these days. However, there is a fine line between beautifying our photos and making them look completely unrealistic. This short guide will explain some of the things you should avoid doing whilst retouching skin using Photoshop and some of the things you will want to do.
Following these tips will give you the professional results you have been hoping for and yet will ensure your photographs look as natural as possible.

- Do research the anatomy of skin, you don’t have to do this in waves but a little knowledge of how skin works can go a long way in showing you what end result will look the most natural yet presentable when it comes to retouching skin in a Photo retouching.
- Do use a hue adjustment layer, this will help to sort out any over saturation and correct any reds which may appear in the image.
- Do make use of the spot healing brush tool which will easily allow you to remove any blemishes that you select. The precise tool will only target the exact areas that you wish to adjust without affecting the rest of the image.
- Do open the same image in two windows. This is an extremely useful tip to ensure that your finished image is to the best quality. You can either have the original open in one window whilst working on the other so that you have a comparison or you can use one image for work on the finer details and one for full view editing.
- Do try to make the skin tone look even, if you are working on an entire body rather than just the face, you should try to get the overall skin tone as even as possible to create a consistent image.

- Don’t blur the skin in a photograph. This is a common misuse of the feature and whilst it will remove the harshness of some imperfections, it will also make the skin look totally unnatural.
- Do make sure that you keep you highlights natural. When working with the lighting on the skin, you want to ensure that it looks as though it has naturally fallen on the face, so that you do not end up with uneven or unnatural looking patches of light on the subjects face.
- Don’t go over the top. The famous rule ‘less is more’ works just as effectively on skin retouching. Only do what is absolutely essential for the best results.
- Don’t remove any permanent marks on the skin, for example, if the subject has a birthmark, this is not something that needs to be removed as it is a permanent part of the subjects skin. However editing out things such as rashes or pimples is fine to do.
If you follow these simple ideas, your skin retouching will be much easier, if you still need help learning to master the art of Fashion photo retouching service you can always enlist the help of some beauty retouching services for even more great advice.