
What is a RAW image?
When you take a normal JPEG image in your camera the image is processed already and you will lose all the raw data with the image. If you want to process the image using an application, the required raw data information is not there anymore.
So always prefer to shoot in raw mode if you want to process the image. Long exposure photos are perfect examples of raw images.
How to prepare a Raw File in Adobe Lightroom?
Your raw files can be edited in Adobe Lightroom by using the Develop module. It can adjust the colour and tone of the image, crop the images, remove red eye, and make any other corrections. Whatever corrections you make will not affect the original raw file you are editing. These corrections are stored as some instructions and are applied in memory.
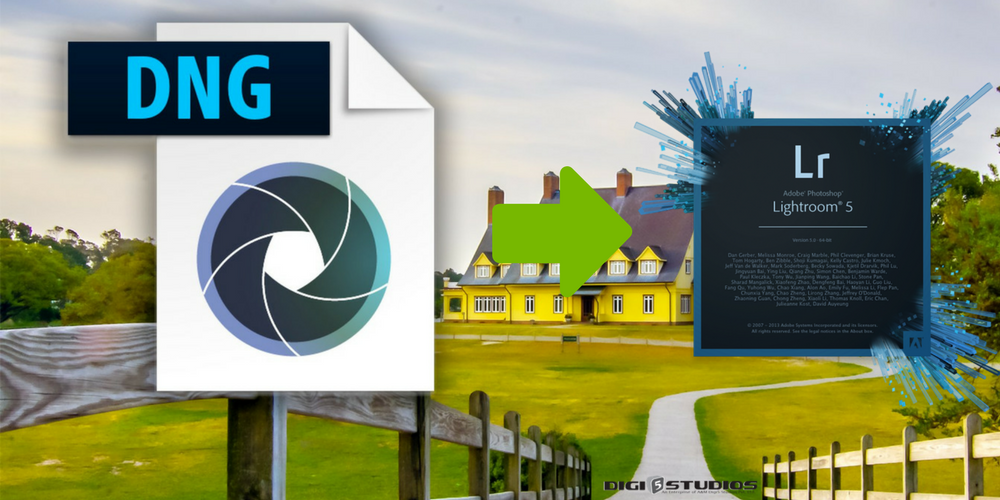
The left panel of the developed area is for selecting photos, reviewing them as well as for applying global presets. The centre part is the work area and the right panel is for the tools and edits controls. Since the edits are saved as separate instructions, while exporting or printing, you can opt to include or exclude the edits. DNG, TIFF, PSD, JPEG and PNG raw files can be edited in Light room. These edited images can later be used in Adobe Photoshop etc.
The following are the steps to follow to process a raw file.
- Select a photo to edit.
- Evaluate the photo: Use the zoom controls in the navigation panel and check the RGB values of each part of the photo and shadow and highlight.
- Make global colour adjustments: the Global colour panel is on the right side. Though you can make adjustments in any order it is a good practice to start with global colour adjustments. Adjust white balance, tonal scale, and colour saturation of the photo, including vibrancy and clarity.
- Reduce noise and sharpen the image: The lens correction panel can be used to correct the distortions by the camera lens. Use the detailed panel to sharpen the image and to reduce noise.
- Photo Retouching Services: Use Red eye correction, spot removal, crop overlay to touch the image to remove red eye, dust and spots.
- Apply local adjustments: Specific areas of the photo can be colour corrected using filter and brush tools.
- Apply same adjustments to multiple photos: Whatever edits you apply to this photo can be applied to a number of photos together by synchronizing the edits. While doing this, you can apply specifically selected edits too.
- Soft-proof the images after editing: Before printing, you can preview how it will look like in the Soft Proofing panel. To get the soft proofing panel in the place of the histogram panel, select the soft proofing box in the toolbar.
Adobe Lightroom is not only for processing the raw files but it stores and catalogues your images.
Professional editing of Colour Correction and Exposure correction
When doing a professional editing of a raw photo, the first thing people normally do is to correct the exposure problems by sliding the exposure slider. You can either type the value in the box instead of sliding.
Then use the recovery slider to recover the additional details of the highlighted parts of the image which can’t be viewed in the original image.
Use blacks to darken the darker parts of the image. This will not affect the highlighted parts.
The fill tool will not affect highlighted areas but will bring the details back to shadows.
If you select 1:1 in the left-hand top part of the screen, that will zoom the image to full size and now you can adjust the contrast to sharpen the image. Vibrancy tool can be used to enhance the depth of each colour.
Now the photo is ready to export and ready to be processed in other software like Adobe Photoshop.
Read More: – Top 5 Best Photoshop Plugins for 2022
How to export a file from Adobe Lightroom to a disk or CD
Inside Lightroom, go to File > Export and choose the video or image you want to export. One dialogue box will be opened. Select the location of the hard disk folder where you want to export the file. If exporting to CD, select CD/DVD In the settings dialogue box, specify the options. Give a file name with a non-numeric first letter. If the same file name already exists in the location, either change the name or overwrite the existing file or skip the exporting.
If you are exporting video files select include video File option. Now select the format and quality of the video as original’ if you want to keep it similar to the source file being exported. If you are planning to play it on a mobile, go for a compressed format. If the video is to play on a web browser, choose medium quality.
As for photo retouching services, select depending on the file type (JPEG, PSD, DNG etc.) appropriate Quality, Bit Depth, Colour space, Limit File Size too, Compatibility, Compression, JPEG Preview, Embed fast load data, Ember Original Raw file, Use Lossy compression, etc.
Mention the size of the image including Dimension, Width and Height as well as Long Edge and Short Edge, Megapixel and Resolution. Mention output sharpening. You can watermark your image by selecting watermark box for copyright. After exporting, select the action you want to take from the post processing menu.